• Illustrations
  • Middle Grade
  • Books
  • About
  • Contact
  • Blog
  • Menu

Erin McClean Illustration

  • Illustrations
  • Middle Grade
  • Books
  • About
  • Contact
  • Blog

Book Binding on a Budget: How to make your own Dummy Books

October 13, 2018

Written February 2018

Before you read this post any further I want to clarify something. I’m not going to teach you how to make beautiful books, I’m sure there are many other posts out there that can teach you that much better than me. I’m going to teach you how to make a dummy book. A dummy book is exactly what it sounds like, basically a small trial book for kidlit illustrators which helps them understand the pace and flow of their story. It’s also very useful when showing others (meaning art directors and publishers) how well your book works as an actual book. A story and it’s illustrations might be brilliant as a standalone piece, but could suddenly not flow at all when put into a book format, so dummy books are vital in the process of creating a picture book.

I’ll make any number of dummy books while working on a project, most of them just scraps of paper folded together, however while getting ready for Bologna Book Fair I create more finished dummy books with a hard cover casing. They look a little more professional, the hard cover protects them while traveling, and they are really easy to make! They just take time, patience and a lot of glue!

What you need

1.jpg

1. A pencil

2. PVA glue

3. Spray Mount – this is probably the priciest thing on the list but a bottle will last you a long time

4. A scalpel or cutting knife

5. Double sided sticky tape

6. A ruler

7. Book Binding Mull – an old pillow case works just as well. I’m using a pillow case from ASDA

8. Grey board – Top tip, every time you finish a sketch pad keep the base board and store it away for book binding. I never actually buy grey board

9. A large sheet of paper – whatever colour you’d like the cover to be. To hand I only had white paper that was big enough. Keep in mind it will have to be big enough wrap around your book

10. A guillotine – This makes life easier but you could use scissors/scalpel

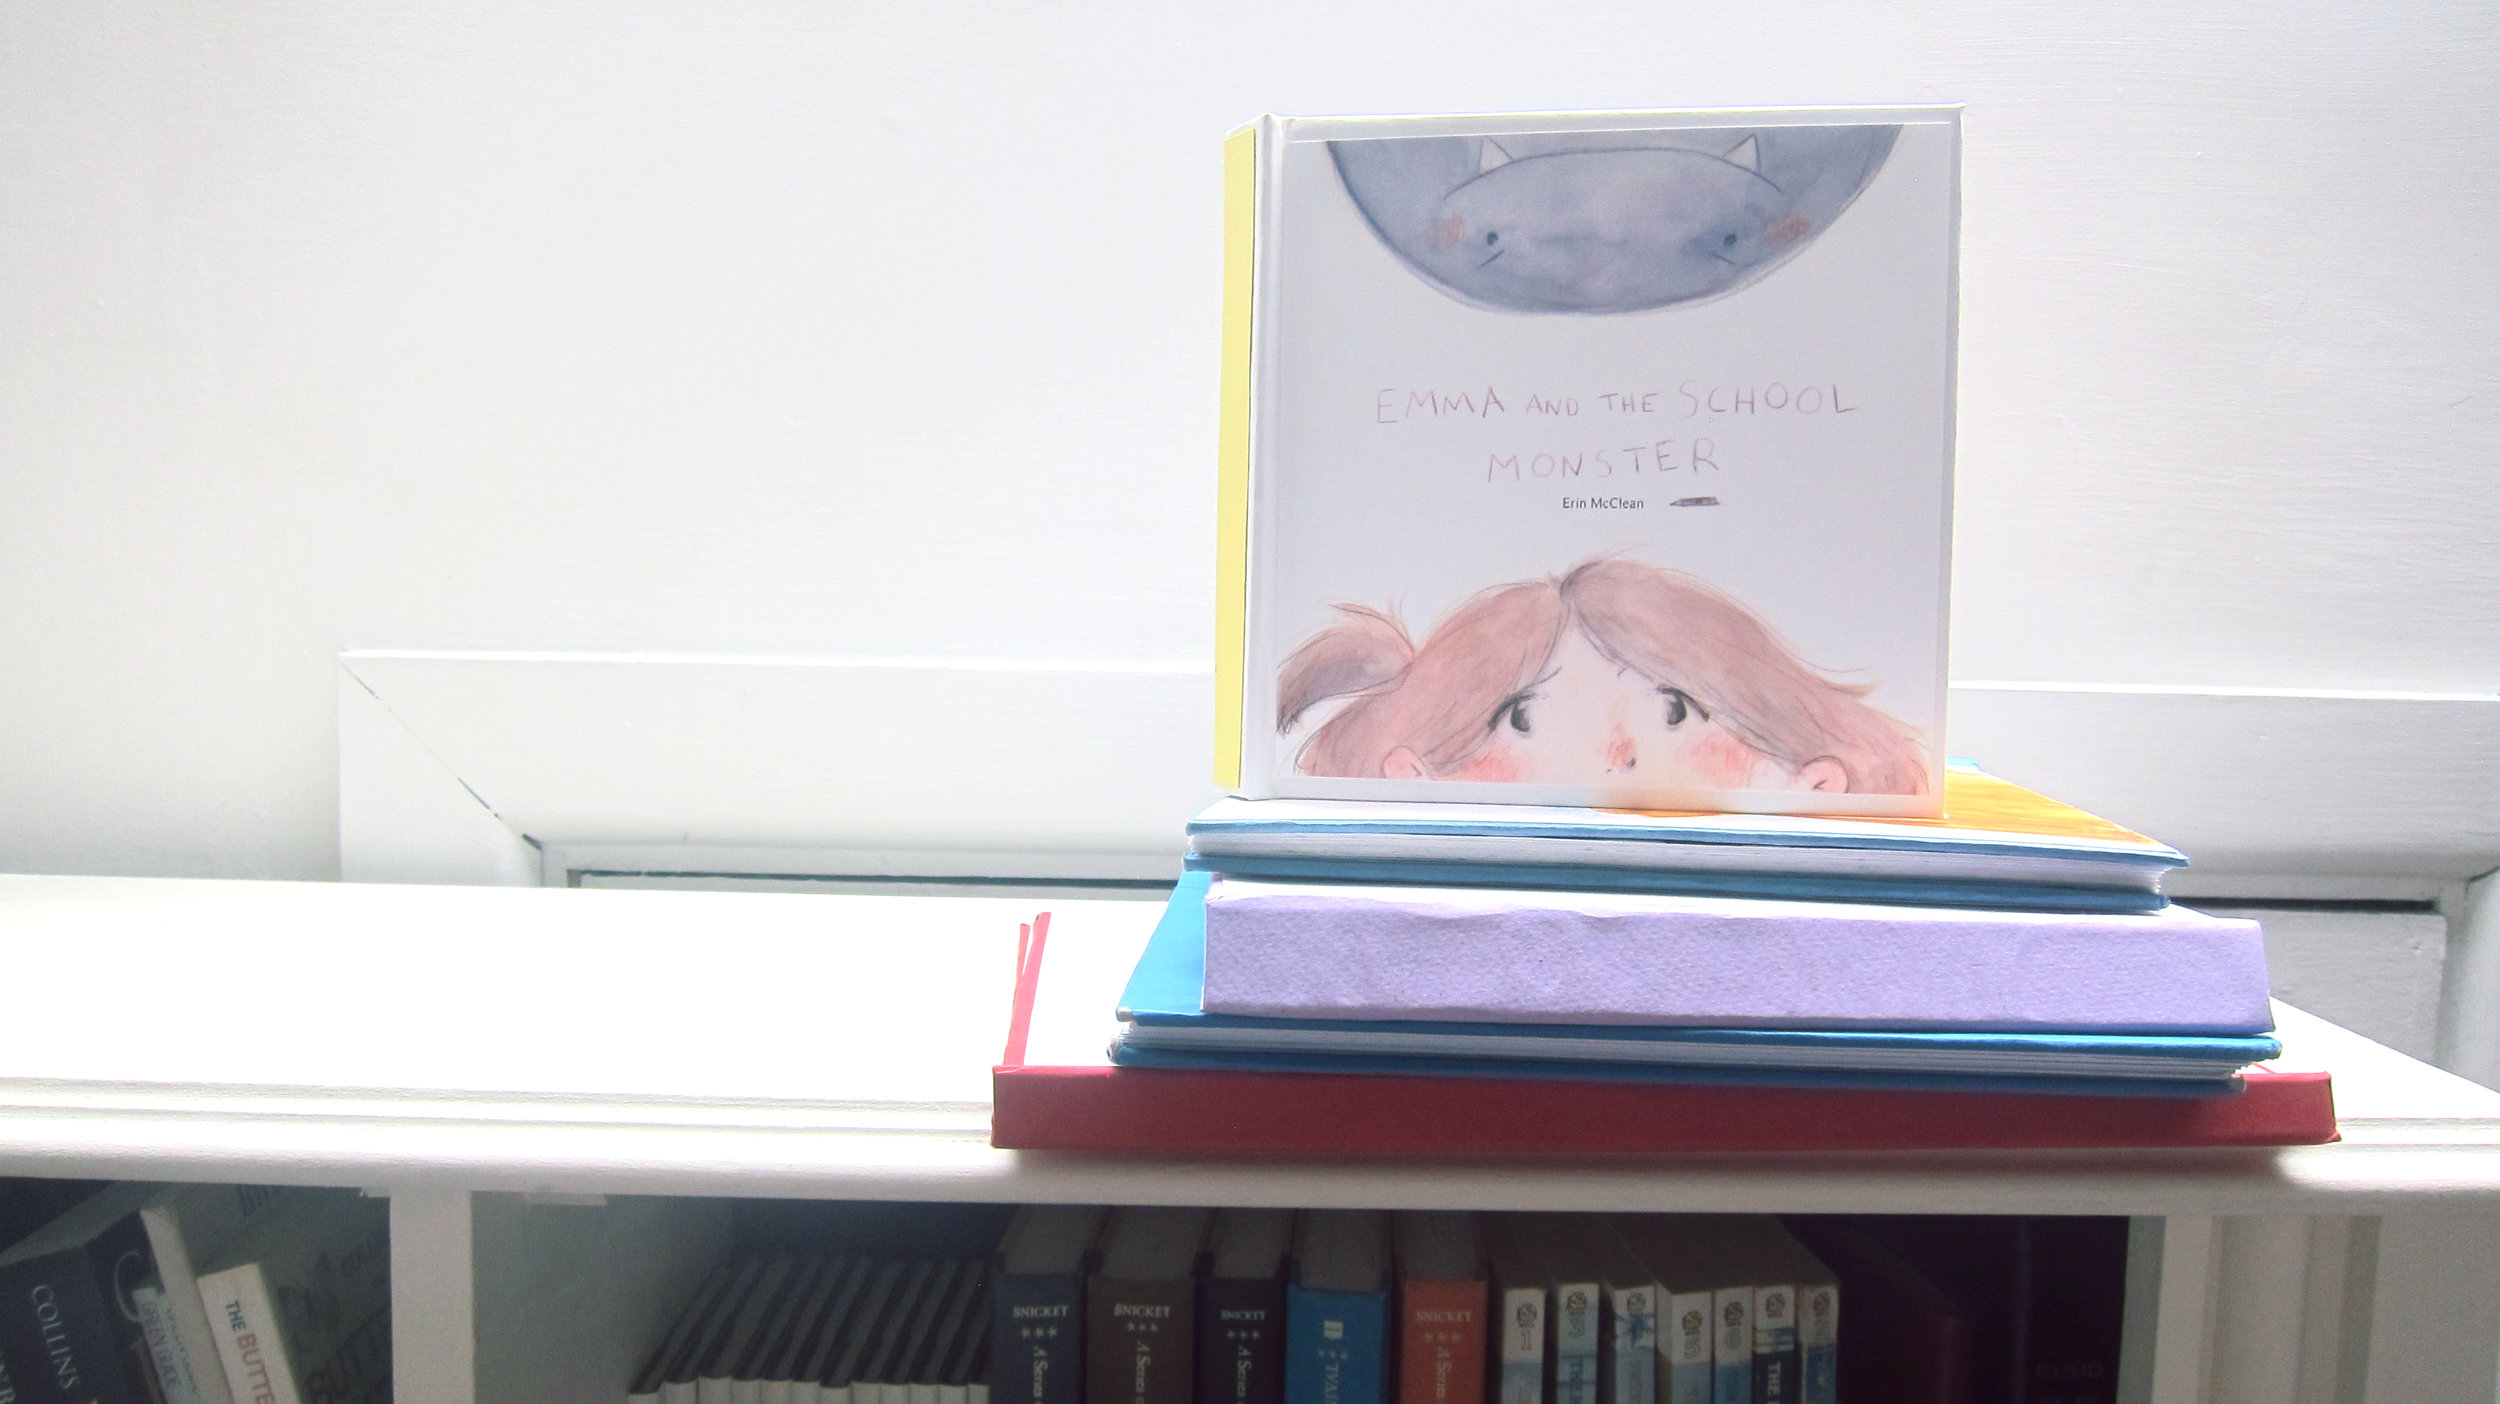
11. The work you want to bind – Each double page spread should be printed on one page

Lastly you need a fluffy companion to keep you company.

IMG_6783.JPG

Creating the innards of the book

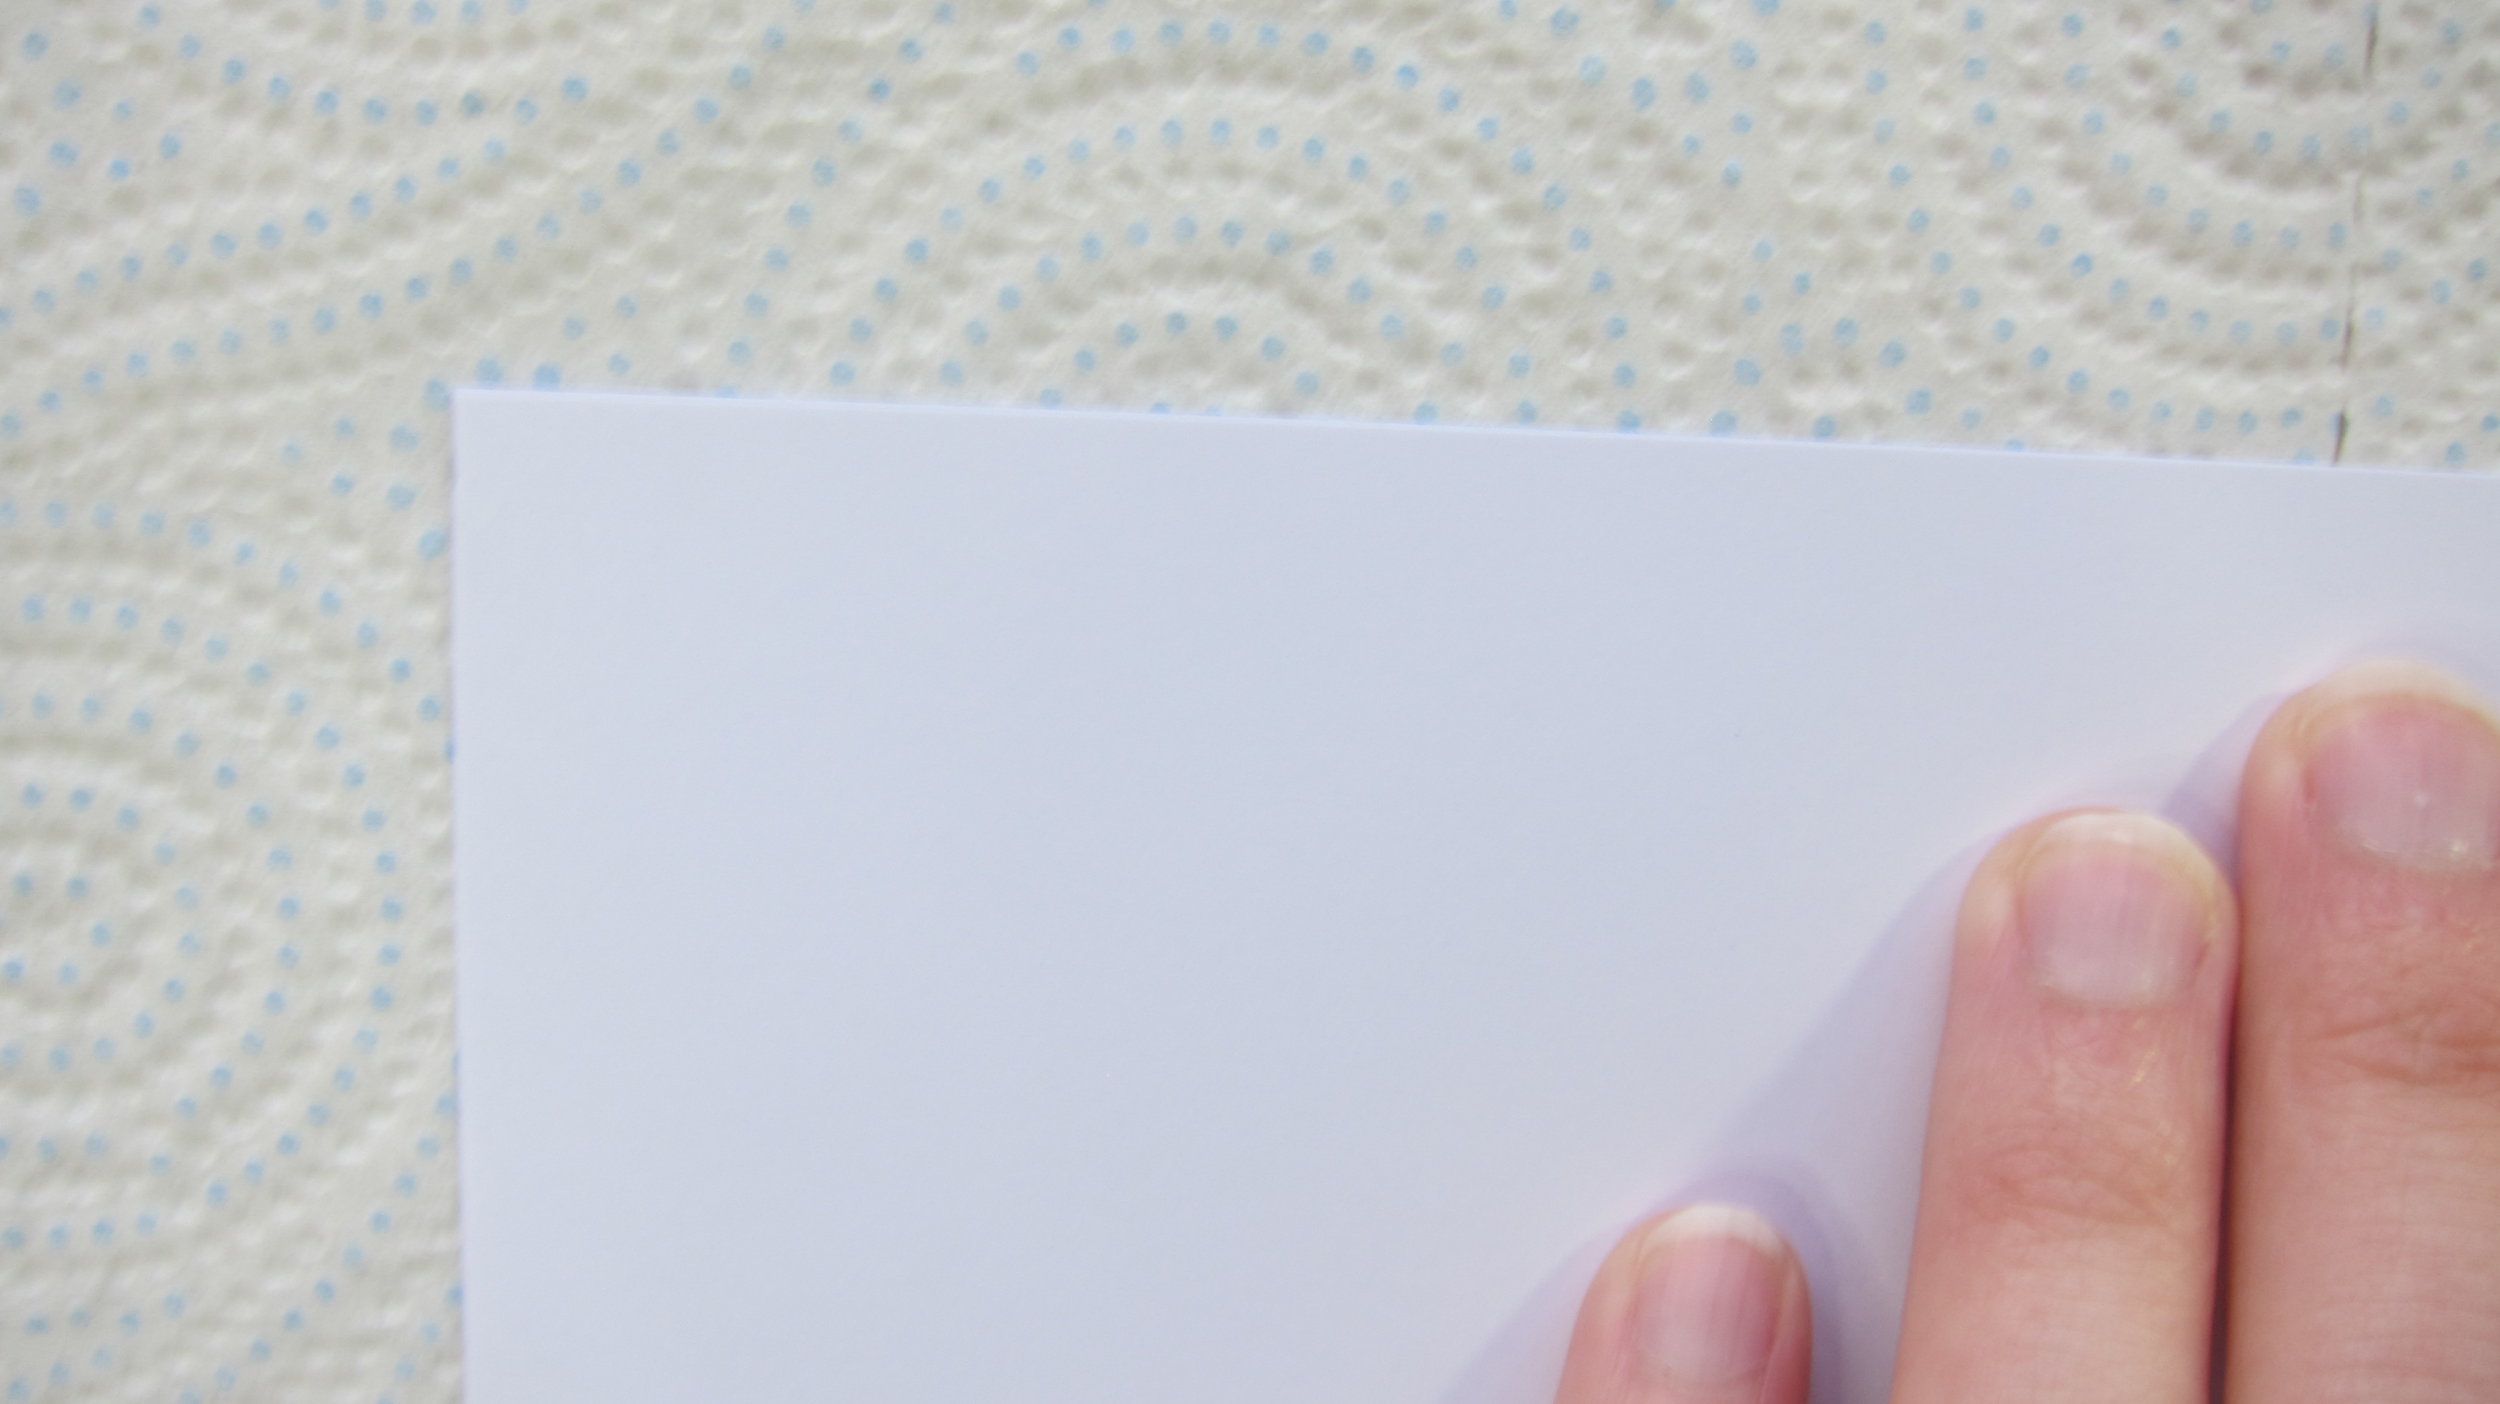
To start we are going to create the innards of the book, so put your grey board and coloured paper to the side. To start simply trim down each page – before beginning I sized each page on InDesign and added a border so I could easily see where to trim. After you’ve trimmed your pages, fold each page where the page break would naturally be.

IMG_6764.JPG
IMG_6766.JPG
IMG_6767.JPG

Put your pages in the order you’re book will go in- please check at least three times to ensure you have your pages in the right order. The feeling of taking the time to bind a whole book to see a mistake in the page order is truly heart wrenching.

Next get out your spray mount. Before using spray mount try and ventilate the area as well as possible, open the windows, turn on a fan, put your fluffy companion in a different room (so they don’t inhale fumes into their little lungs), even do this outside if the weather allows you. If you live in Northern Ireland like me then chances are it will always be raining so you’ll have to do this inside. I also want to warn you, please move everything you love away from the area you are about to use spray mount in unless you want it covered in a thin layer of stickiness for the rest of your life. I find spraying into a bin is the tidiest way to do this.

Using your spray mount you’re going to carefully spray each page one-by-one and stick it to the next page. You’ll want to work your way up to a sort of book shape. Stick each page down and match corners as carefully as possible to make your finished book as neat as possible. Keep an eye on the ‘spine’ as you add more pages, make sure it doesn’t begin to slant in one direction.

IMG_6768.JPG
IMG_6770.JPG

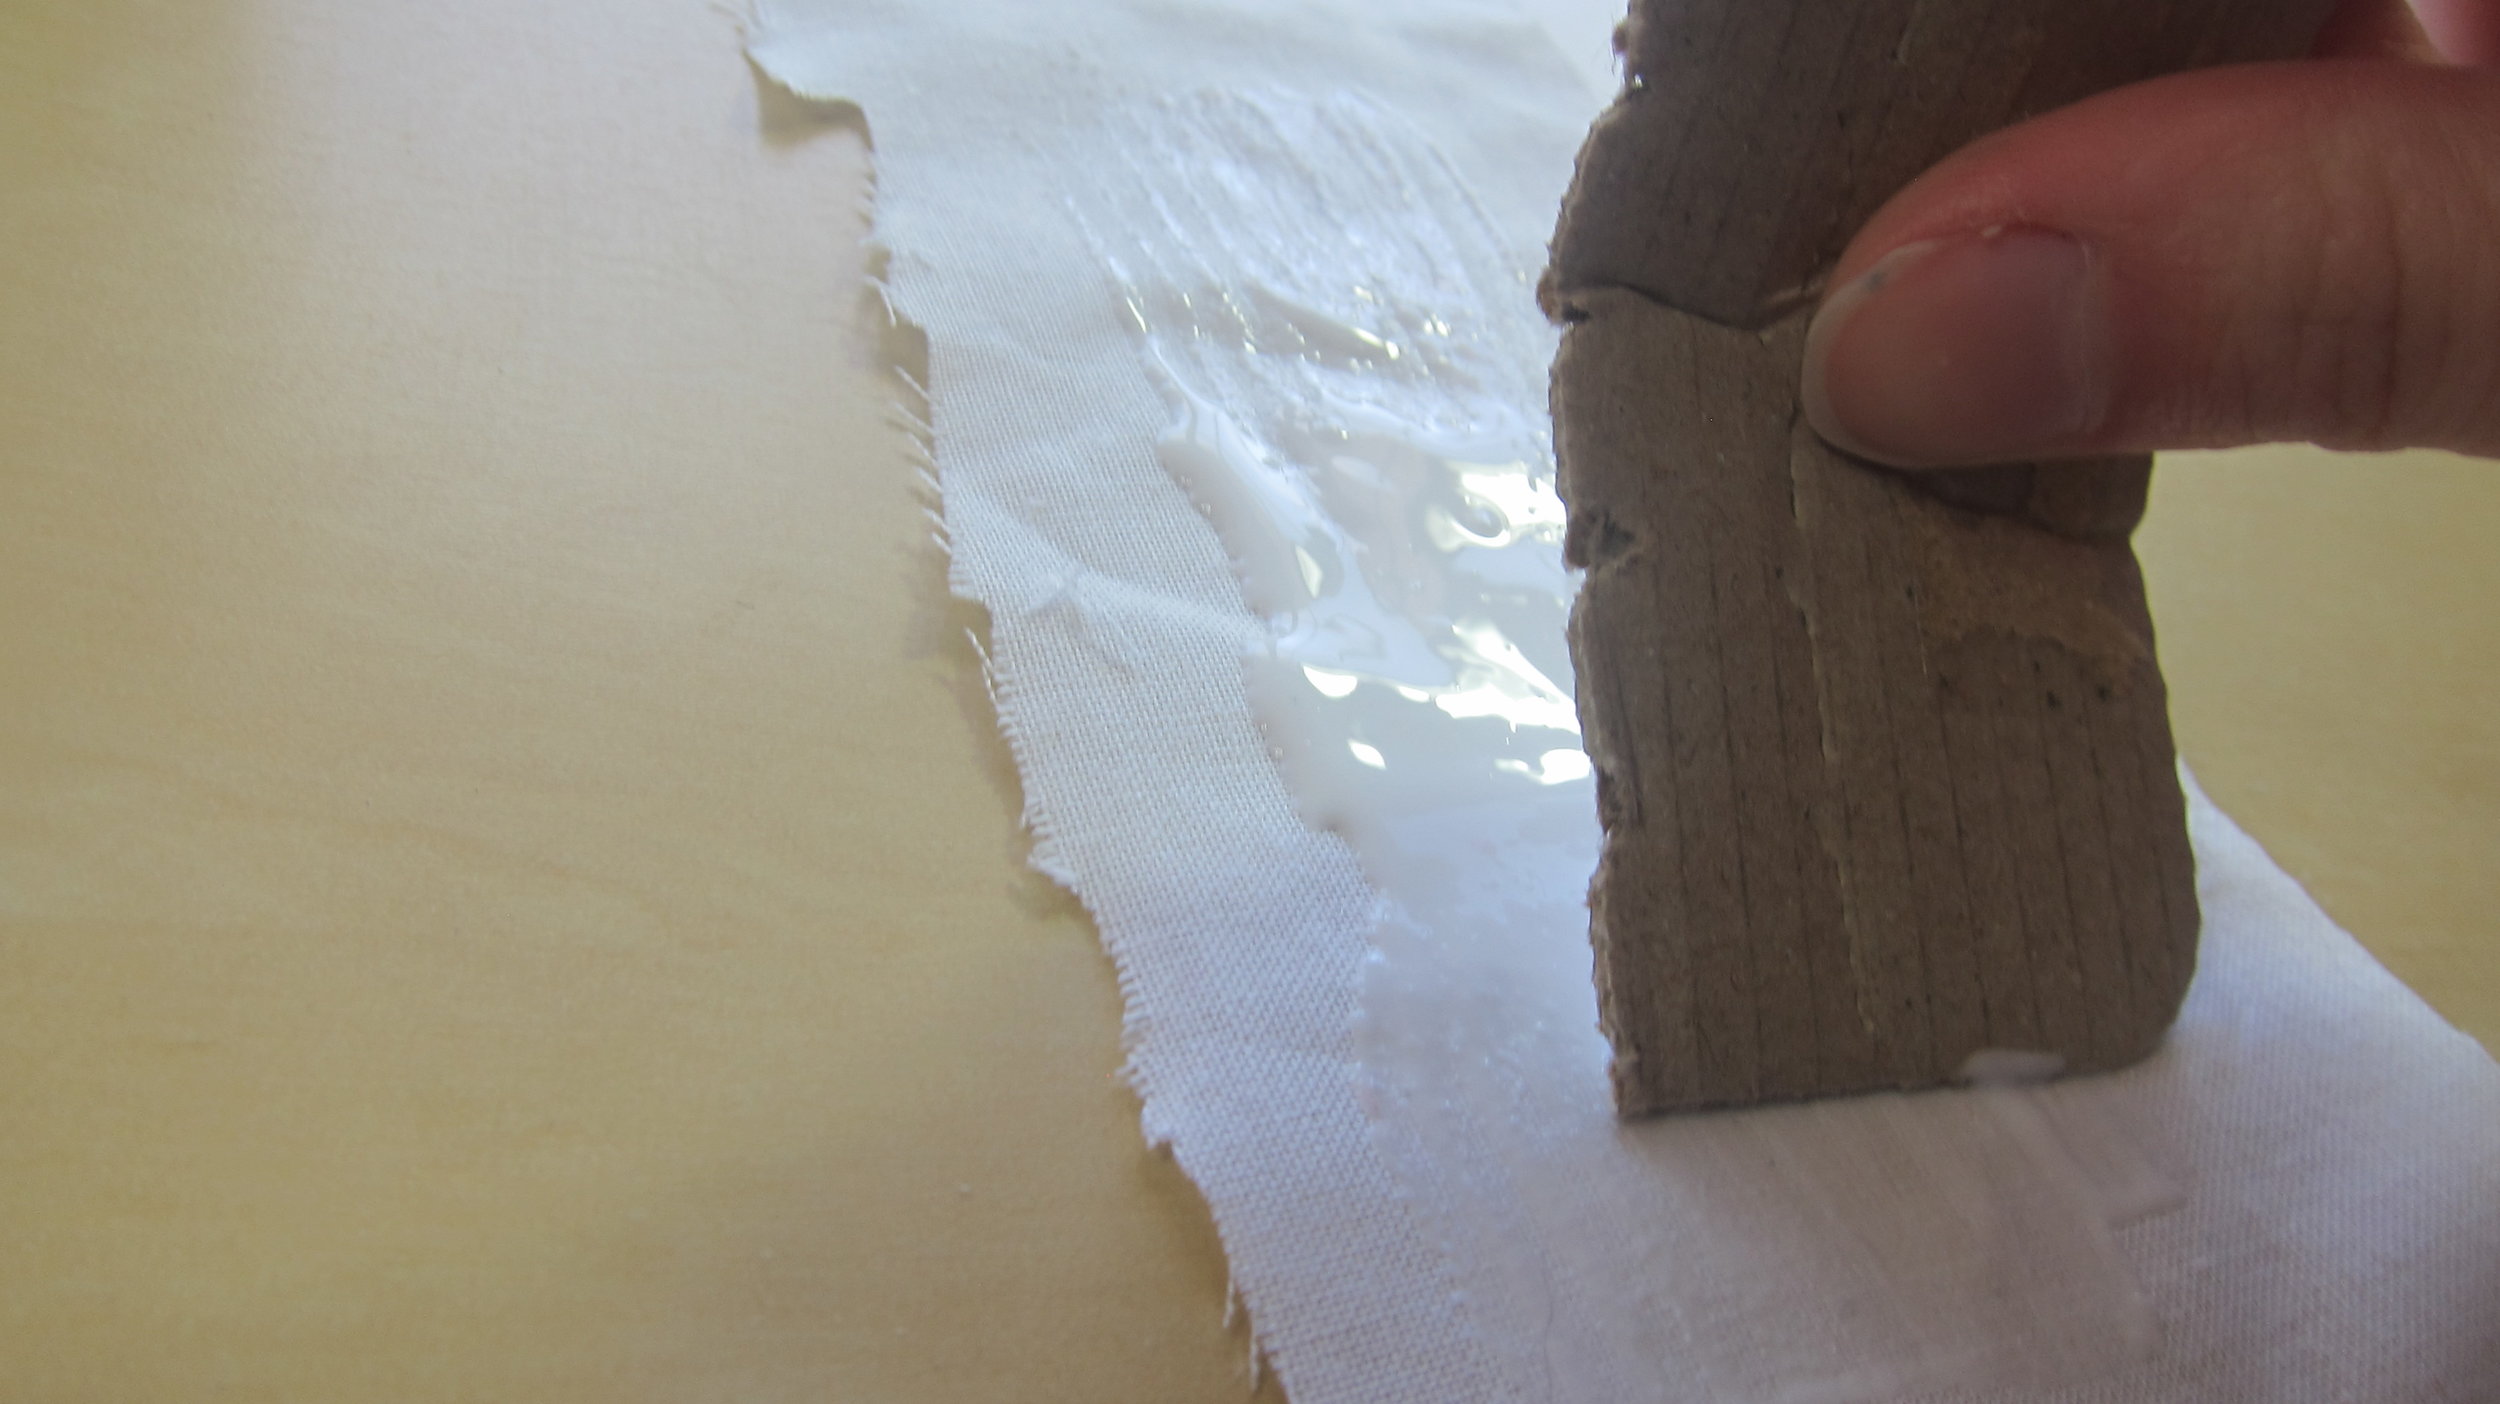
After you’ve done this we want to reinforce the spine of the book. To do this get your mull (or pillow case) and cut a strip just smaller than the height of the book and big enough to cover the spine width wise. Use PVA glue to cover the spine with the mull.

IMG_6771.JPG
IMG_6773.JPG

Then grab all the coffee table books you own and leave your book to dry for a couple hours (or seven if you have to go to your day-job like me).

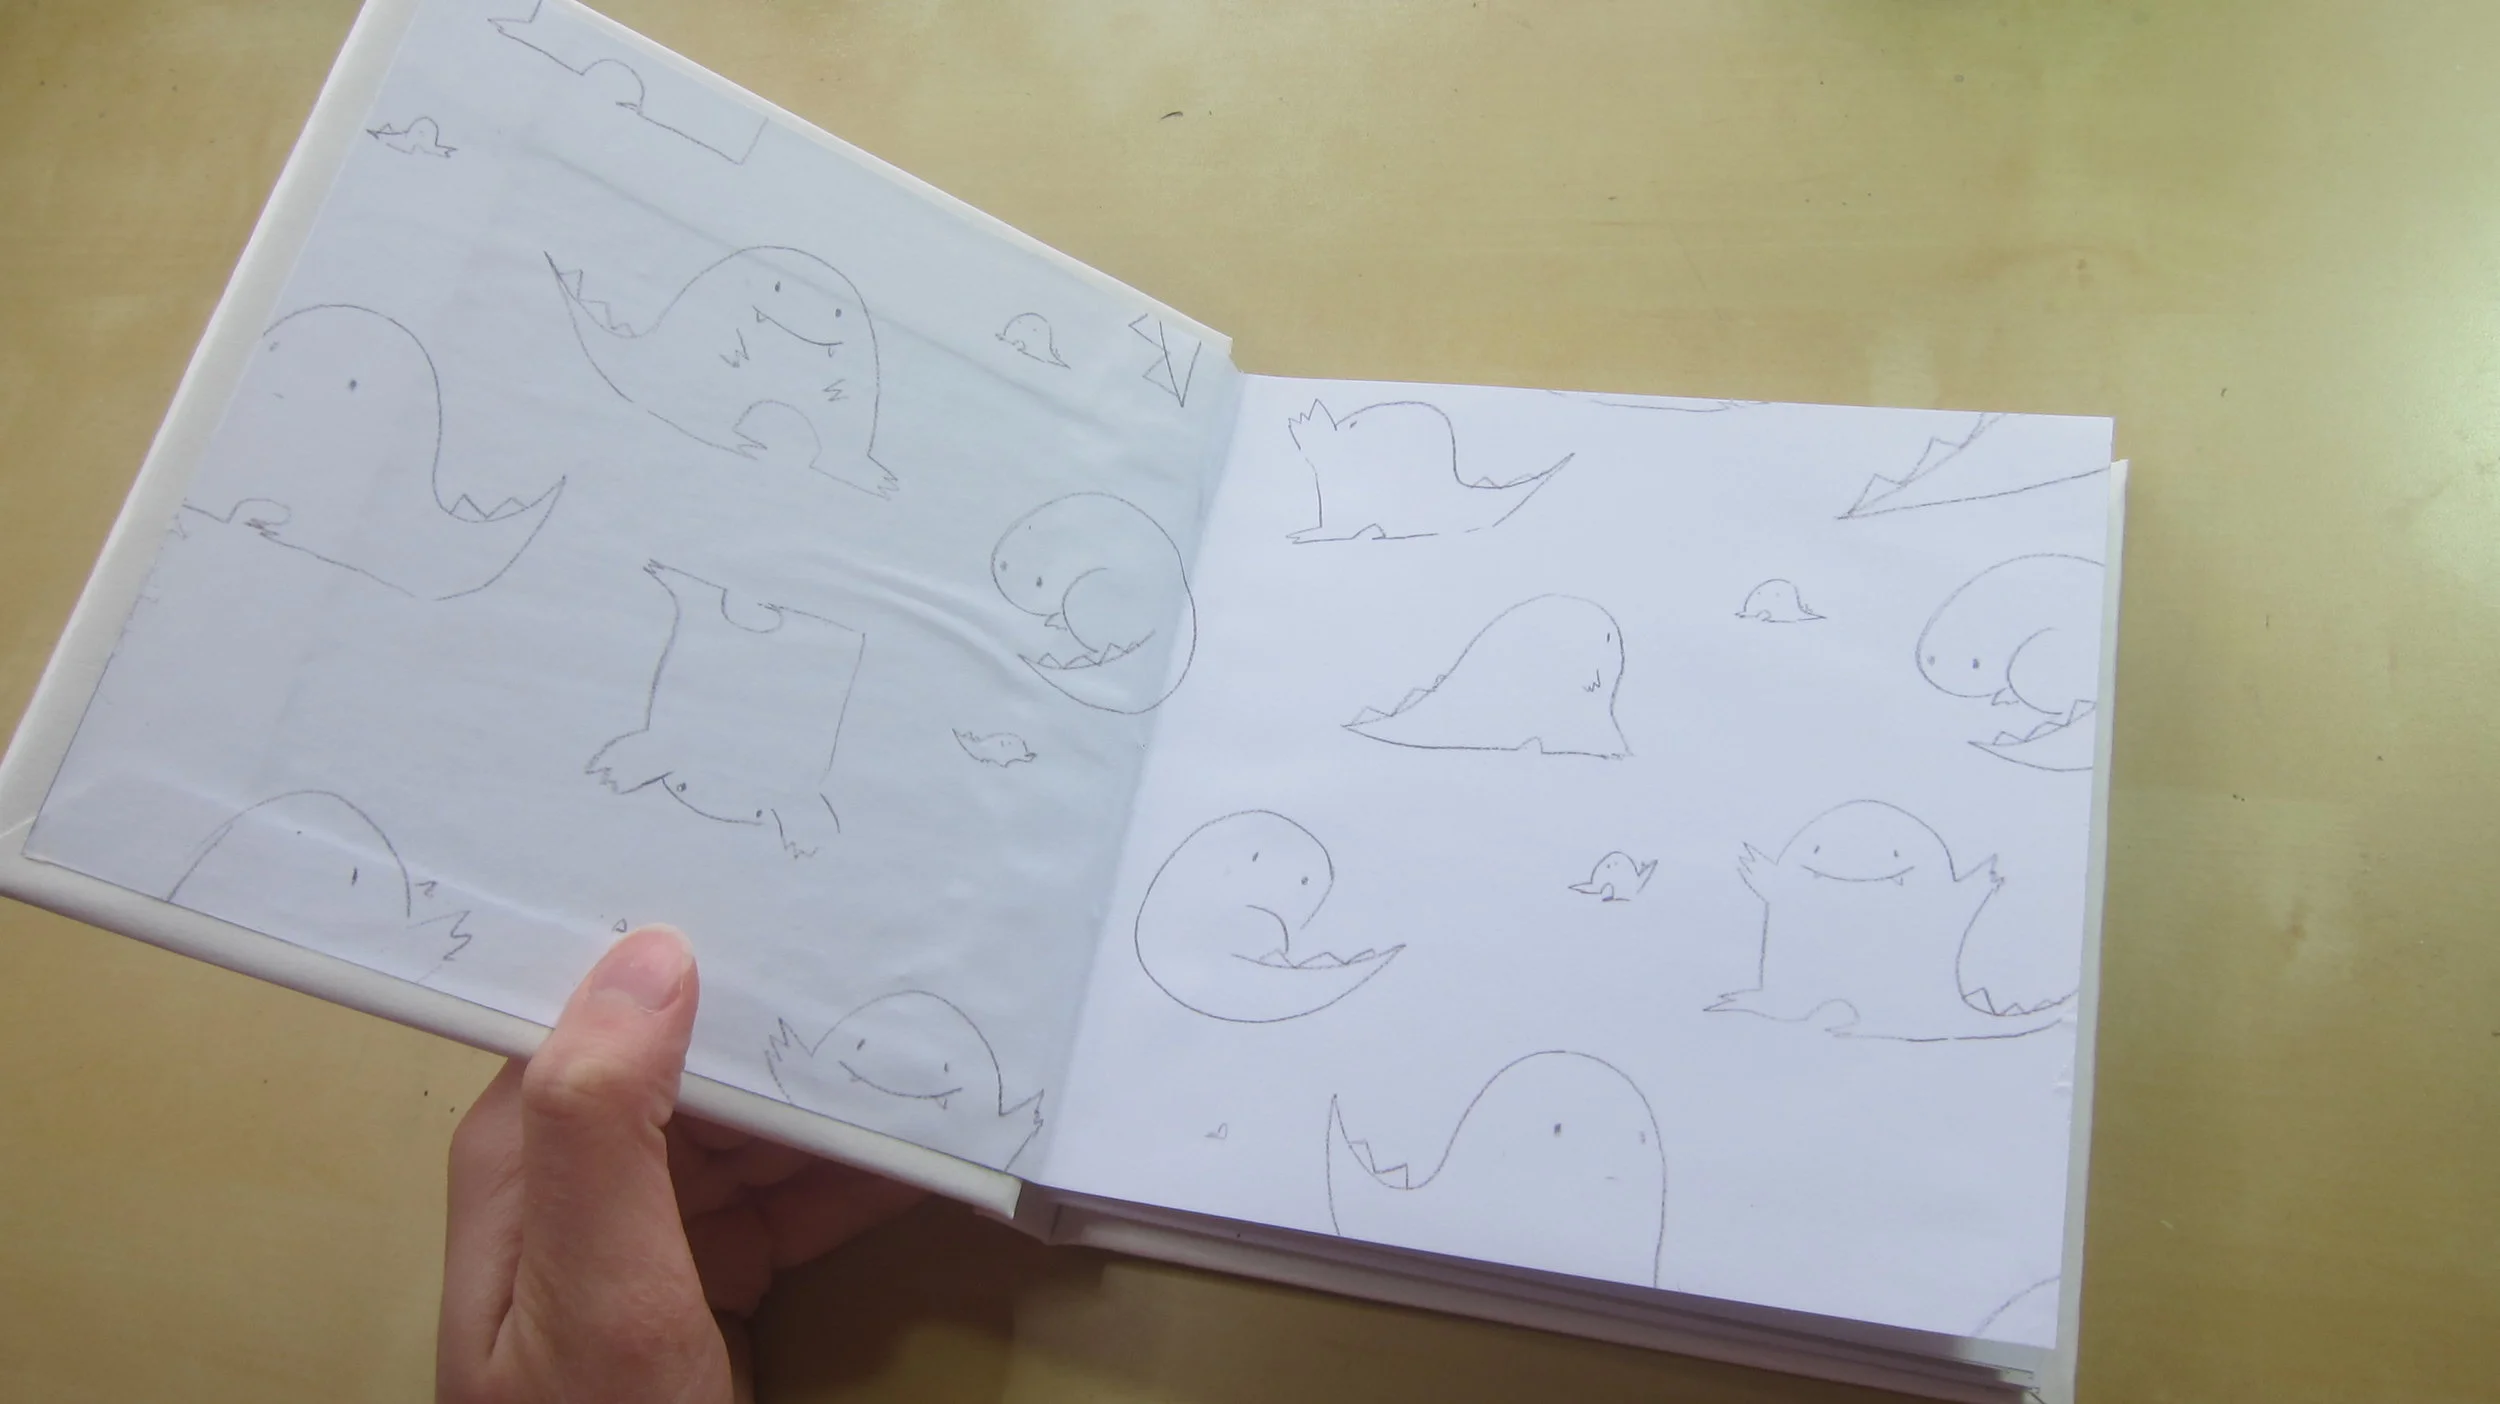
Congratulations! You’ve now finished making the inside of your book! It feels pretty good to be able to actually turn the pages- but we aren’t finished yet. We’ve got to make that pretty and protective hard cover. This is the fiddly bit where there’s lots of room for small mistakes!

The Hard Case

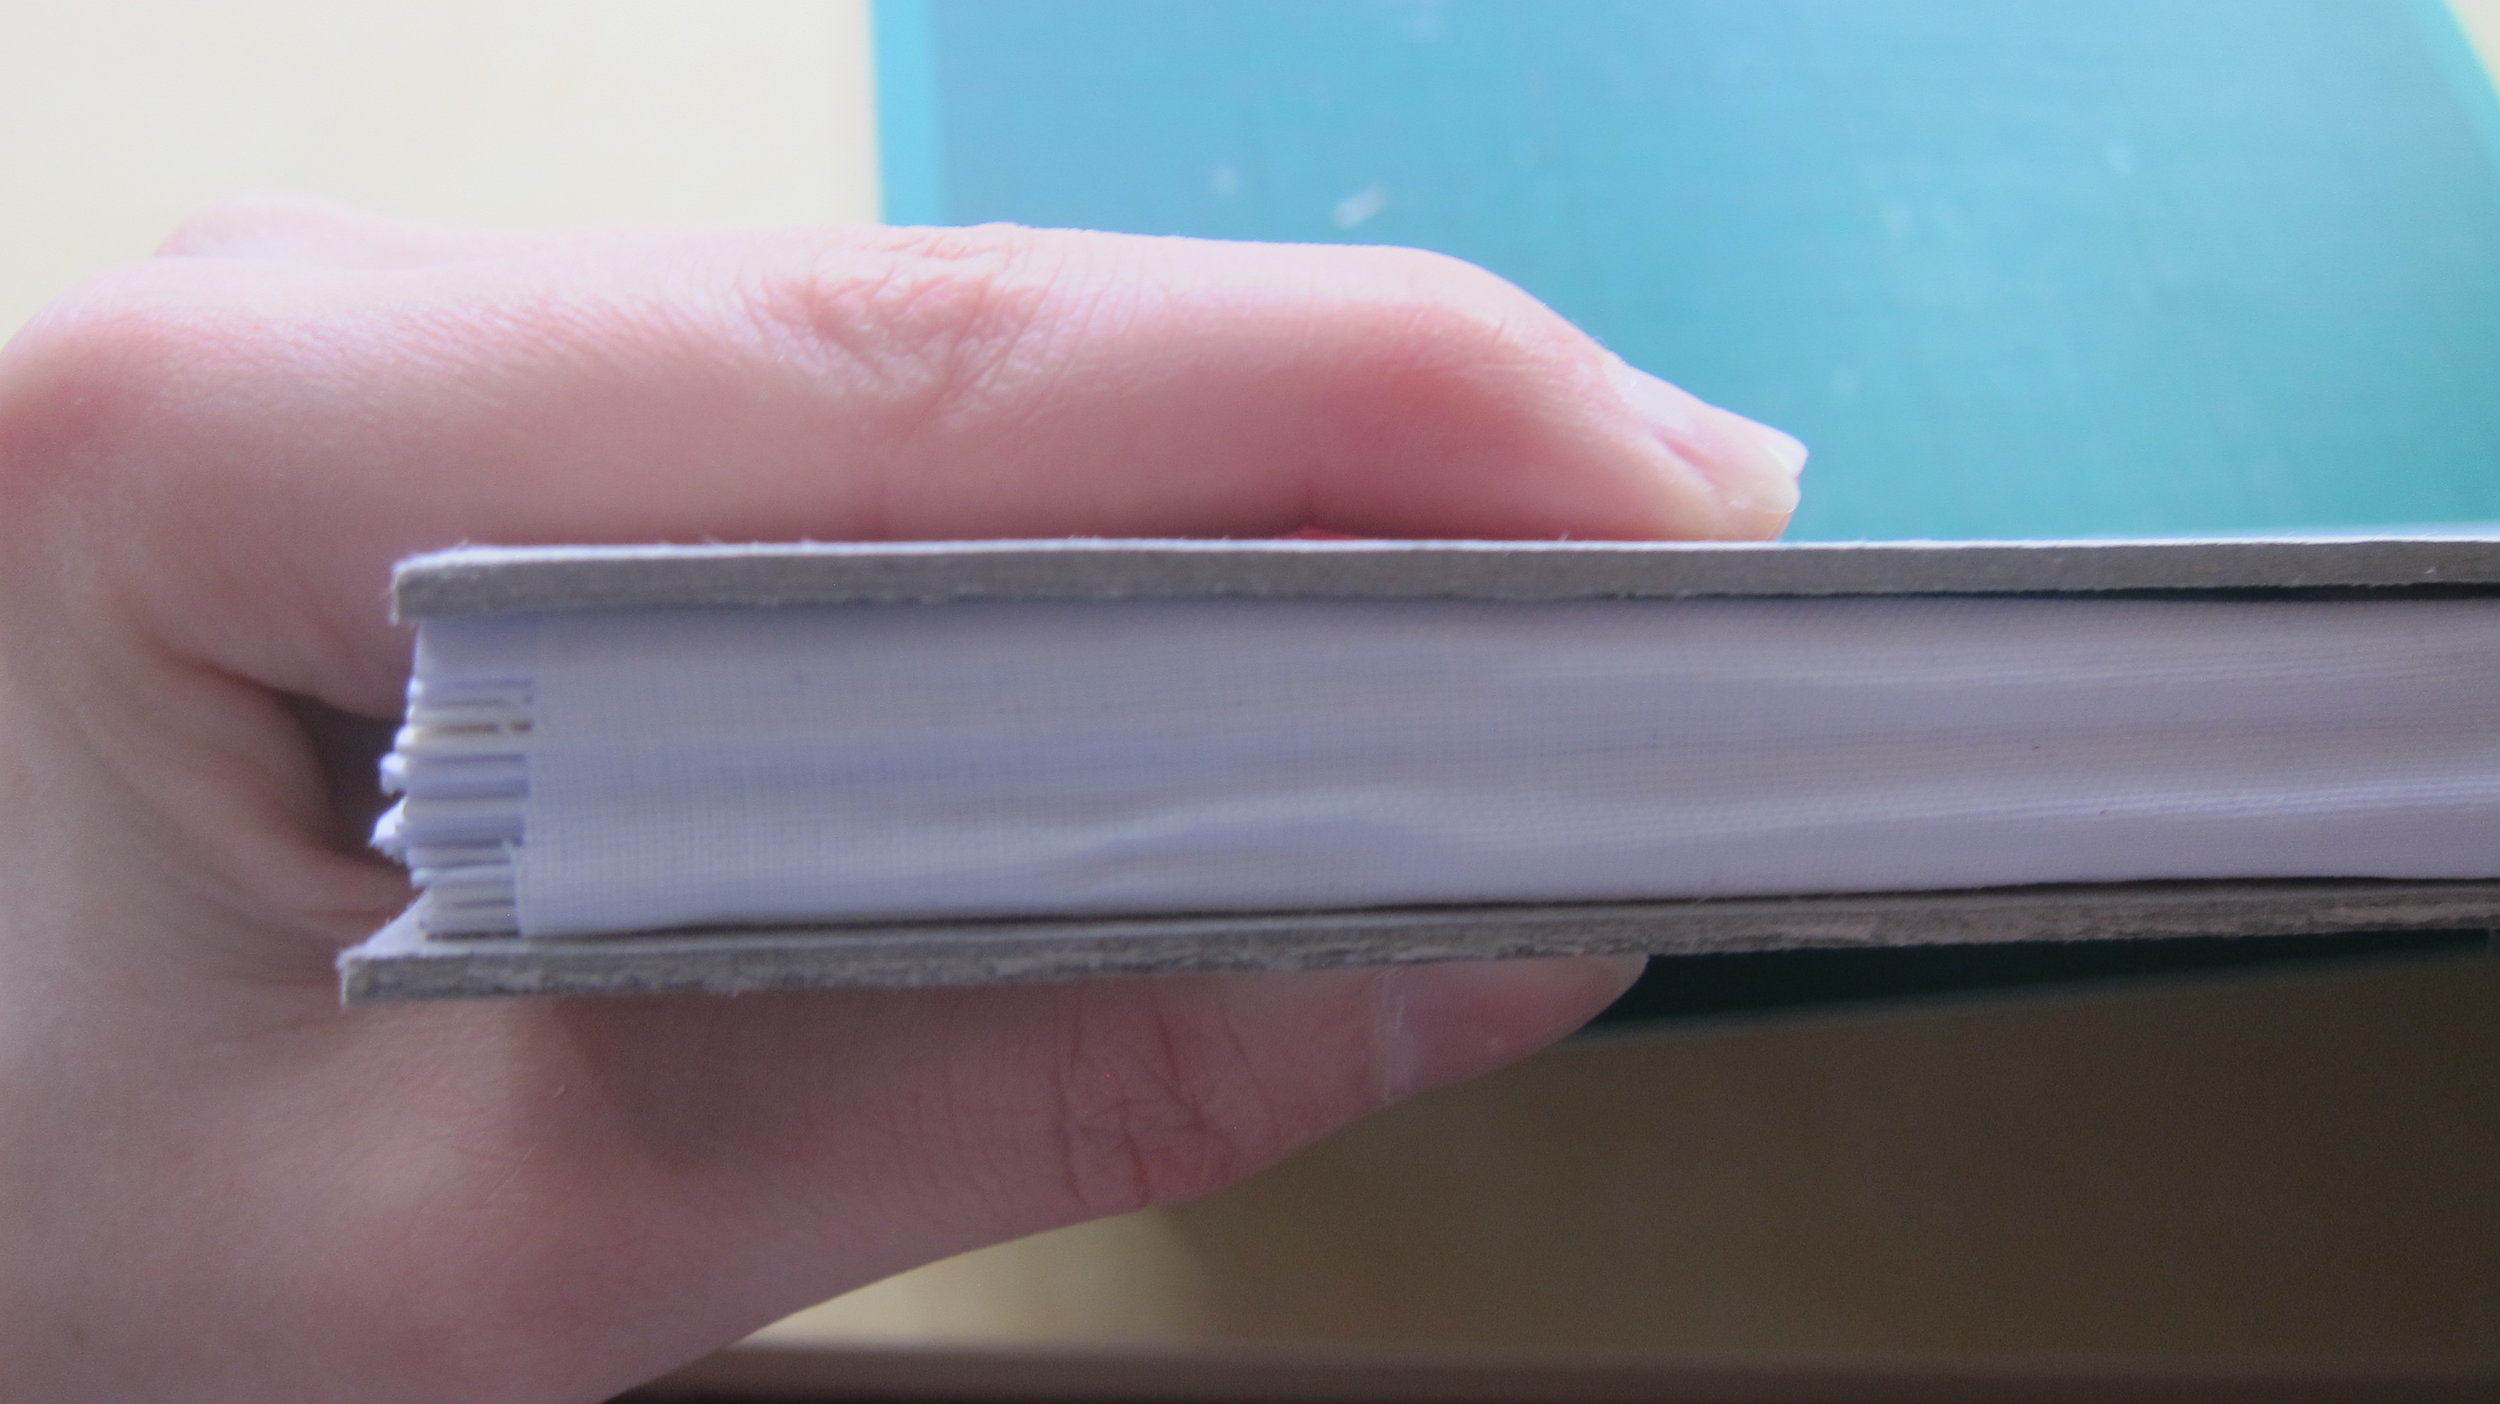
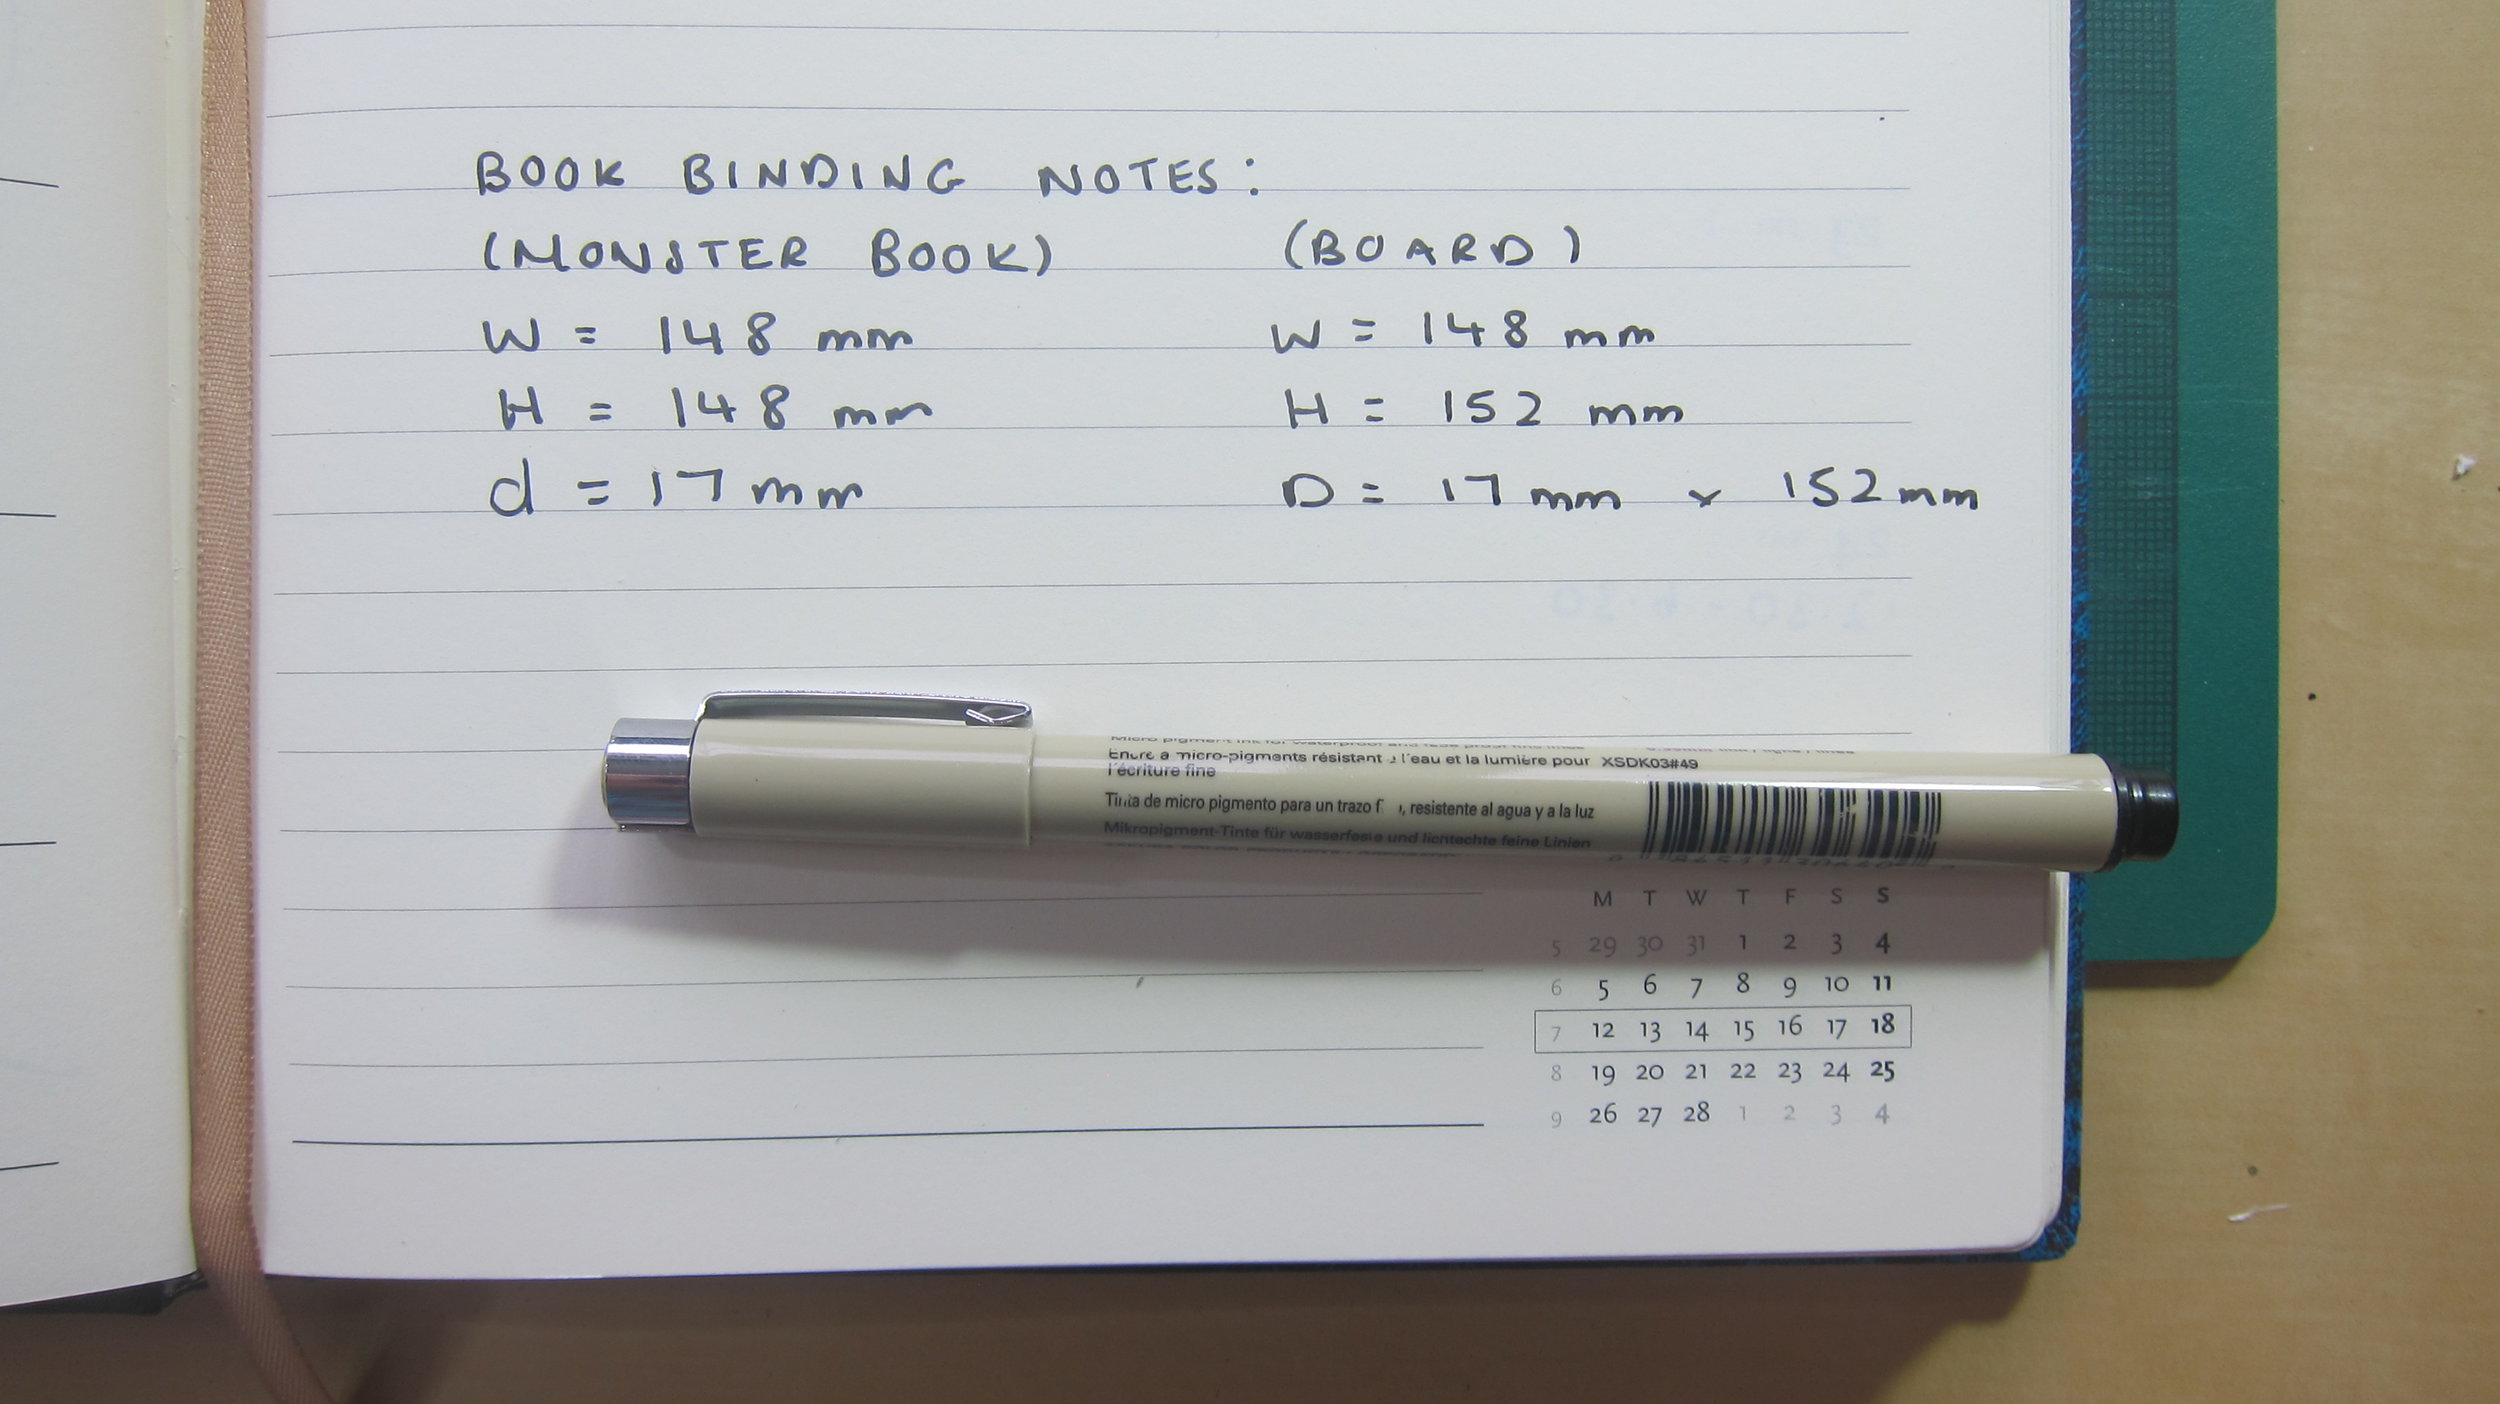
To begin making the hard case for your book you are going to want to measure it. Measure the width and height of your book, and also the depth of the spine. When measuring the depth of the spine be sure to include the width of your grey board on either side of the spine (see the picture below). I find it handy to keep a note of all the measurements I take.

Now you’ve measured your actual book, we want to make a note of what measurements we need to cut the grey board to. This is important! They are not exactly the same. The width of your book and grey board will be the same, but the height of the grey board will be 4mm more (2mm on either side of the book). This will create the natural overhang that a book cover has over it’s pages. When you’ve measured out your grey board correctly go ahead and cut it with a scalpel. You’ll need two separate pieces, one for each side of the book, as well as a third piece for the spine.  I recommend using a cutting mat so you don’t scratch any desks.

IMG_6779.JPG

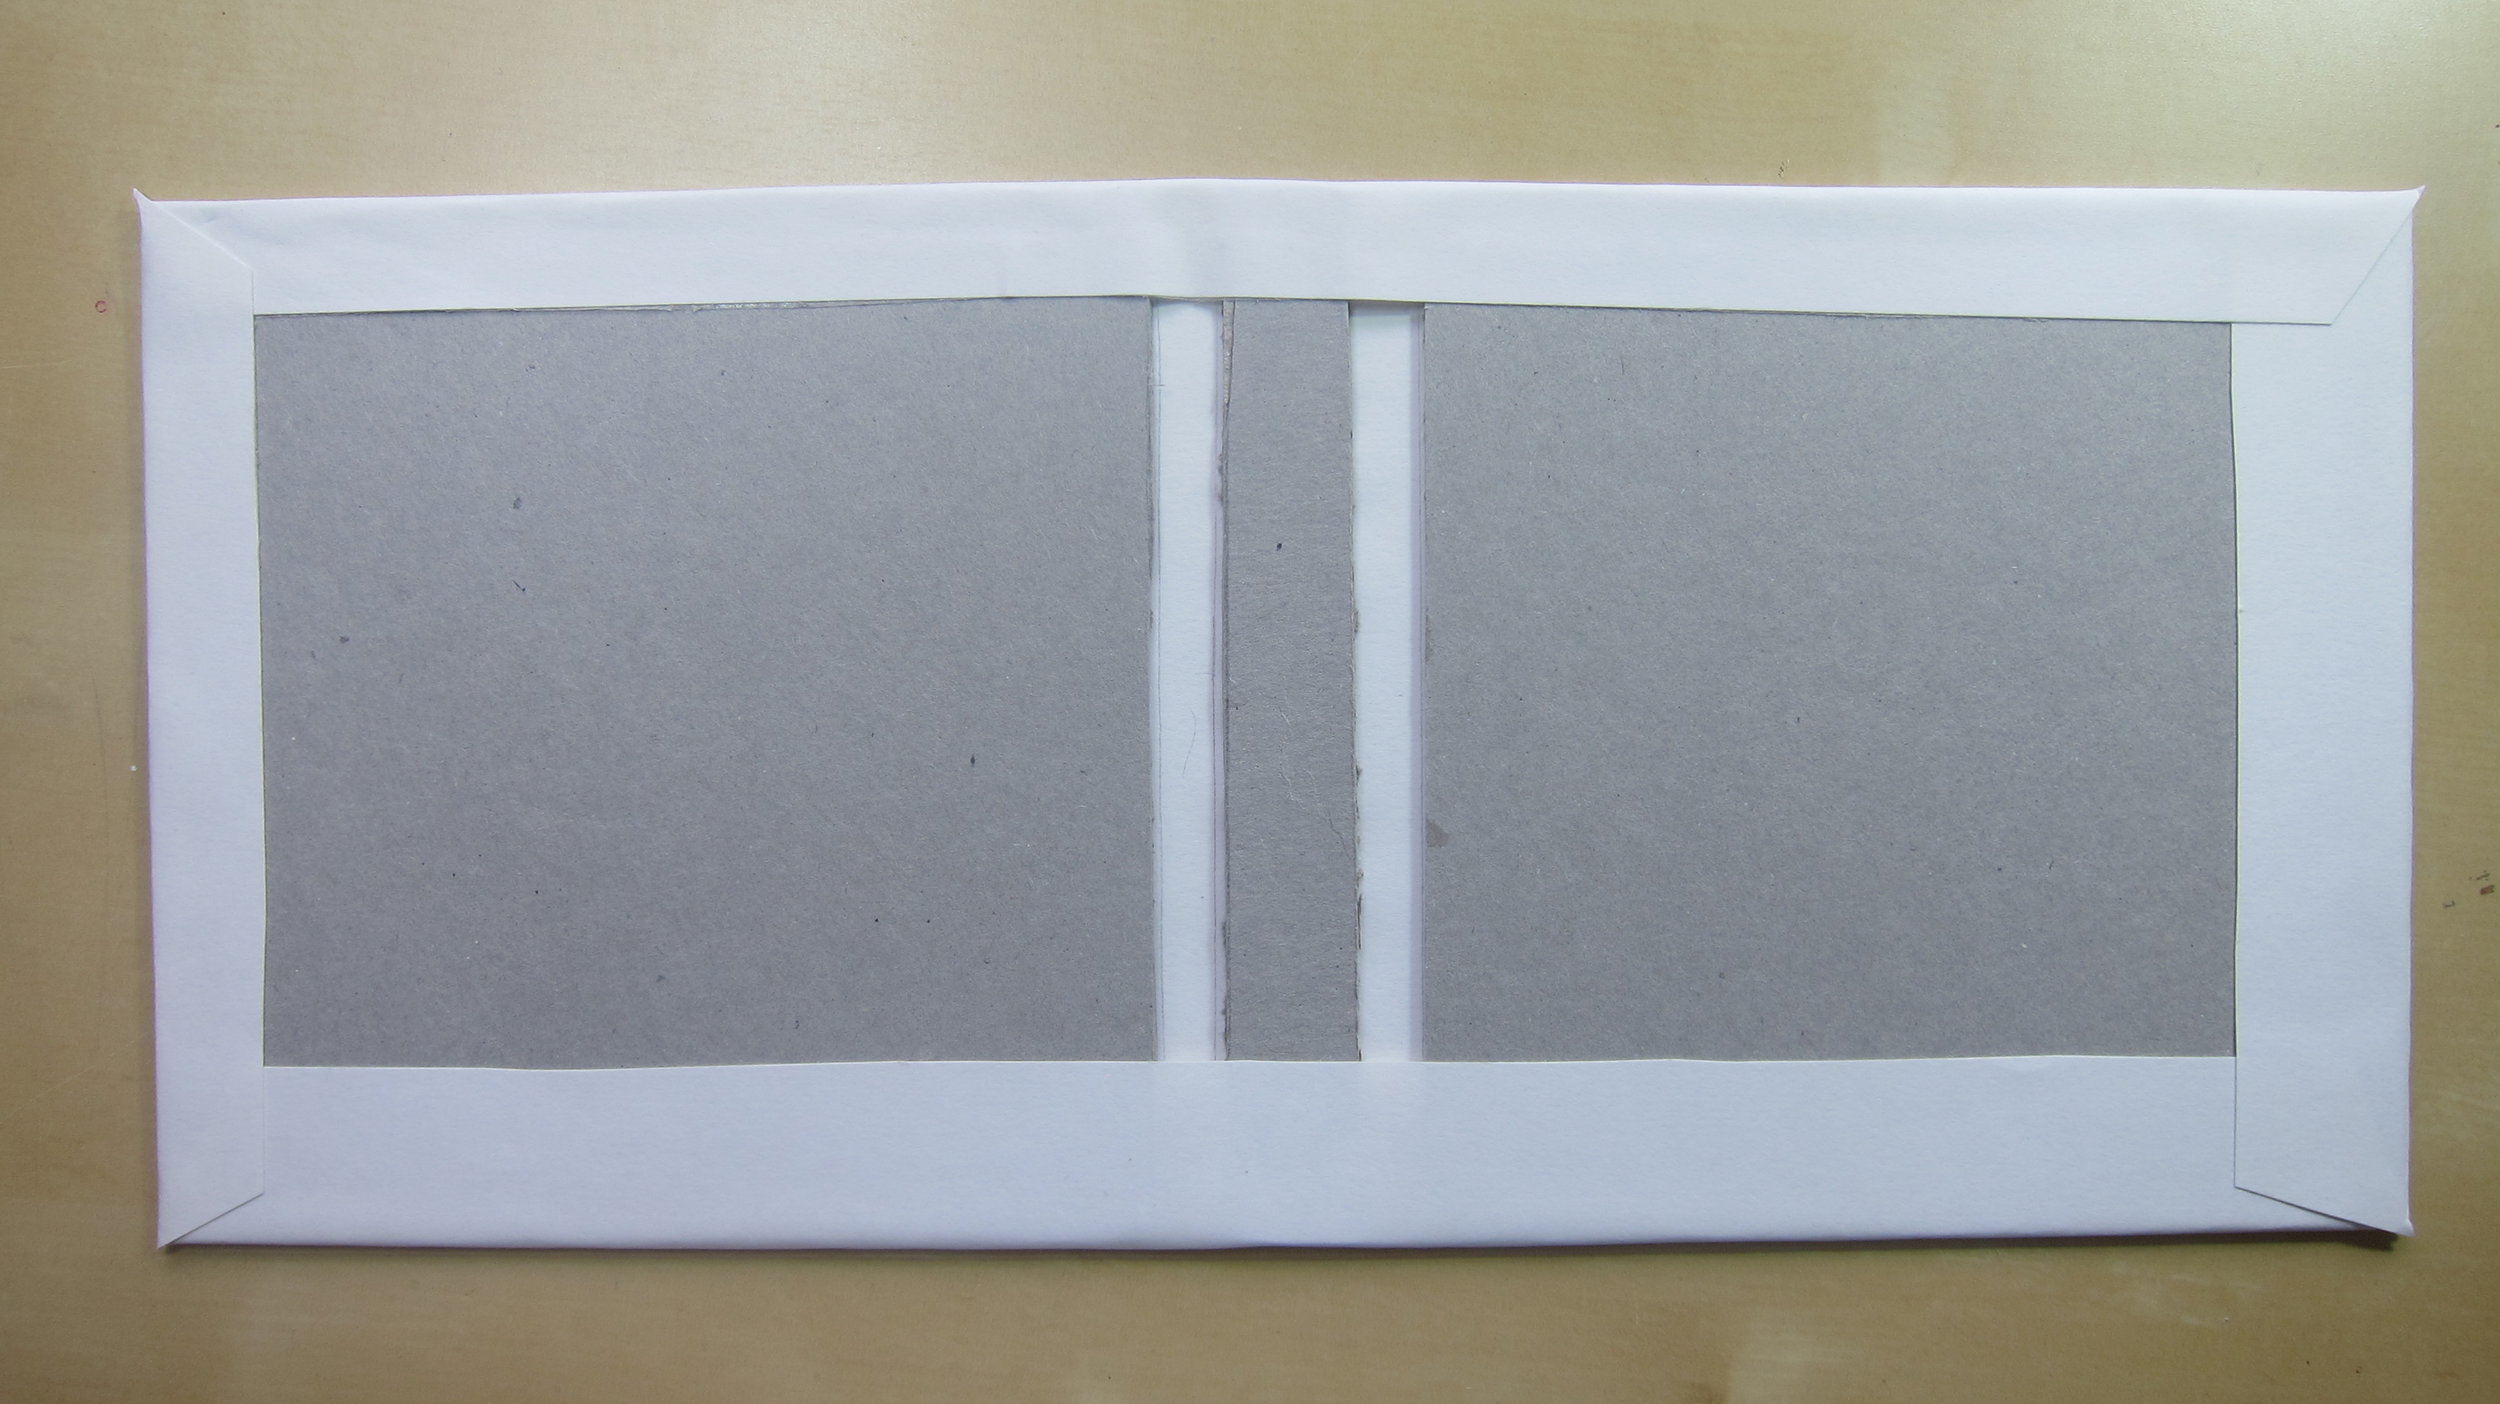
When you’ve cut up your grey board, as pictured below, you can stick it to your sheet of paper leaving a large boarder. Use photo mount to stick the main covers and use PVA glue to stick down the spine. Most importantly leave 8-10mm between the spine and the main covers. This is such an important step!

IMG_6784.JPG
IMG_6785.JPG

Once your grey board is stuck down add double sided sticky tape all the way along the paper boarder. At each corner cut a little triangle, starting about 1mm out from the corner of the grey board. After this stick the paper down to the grey board.

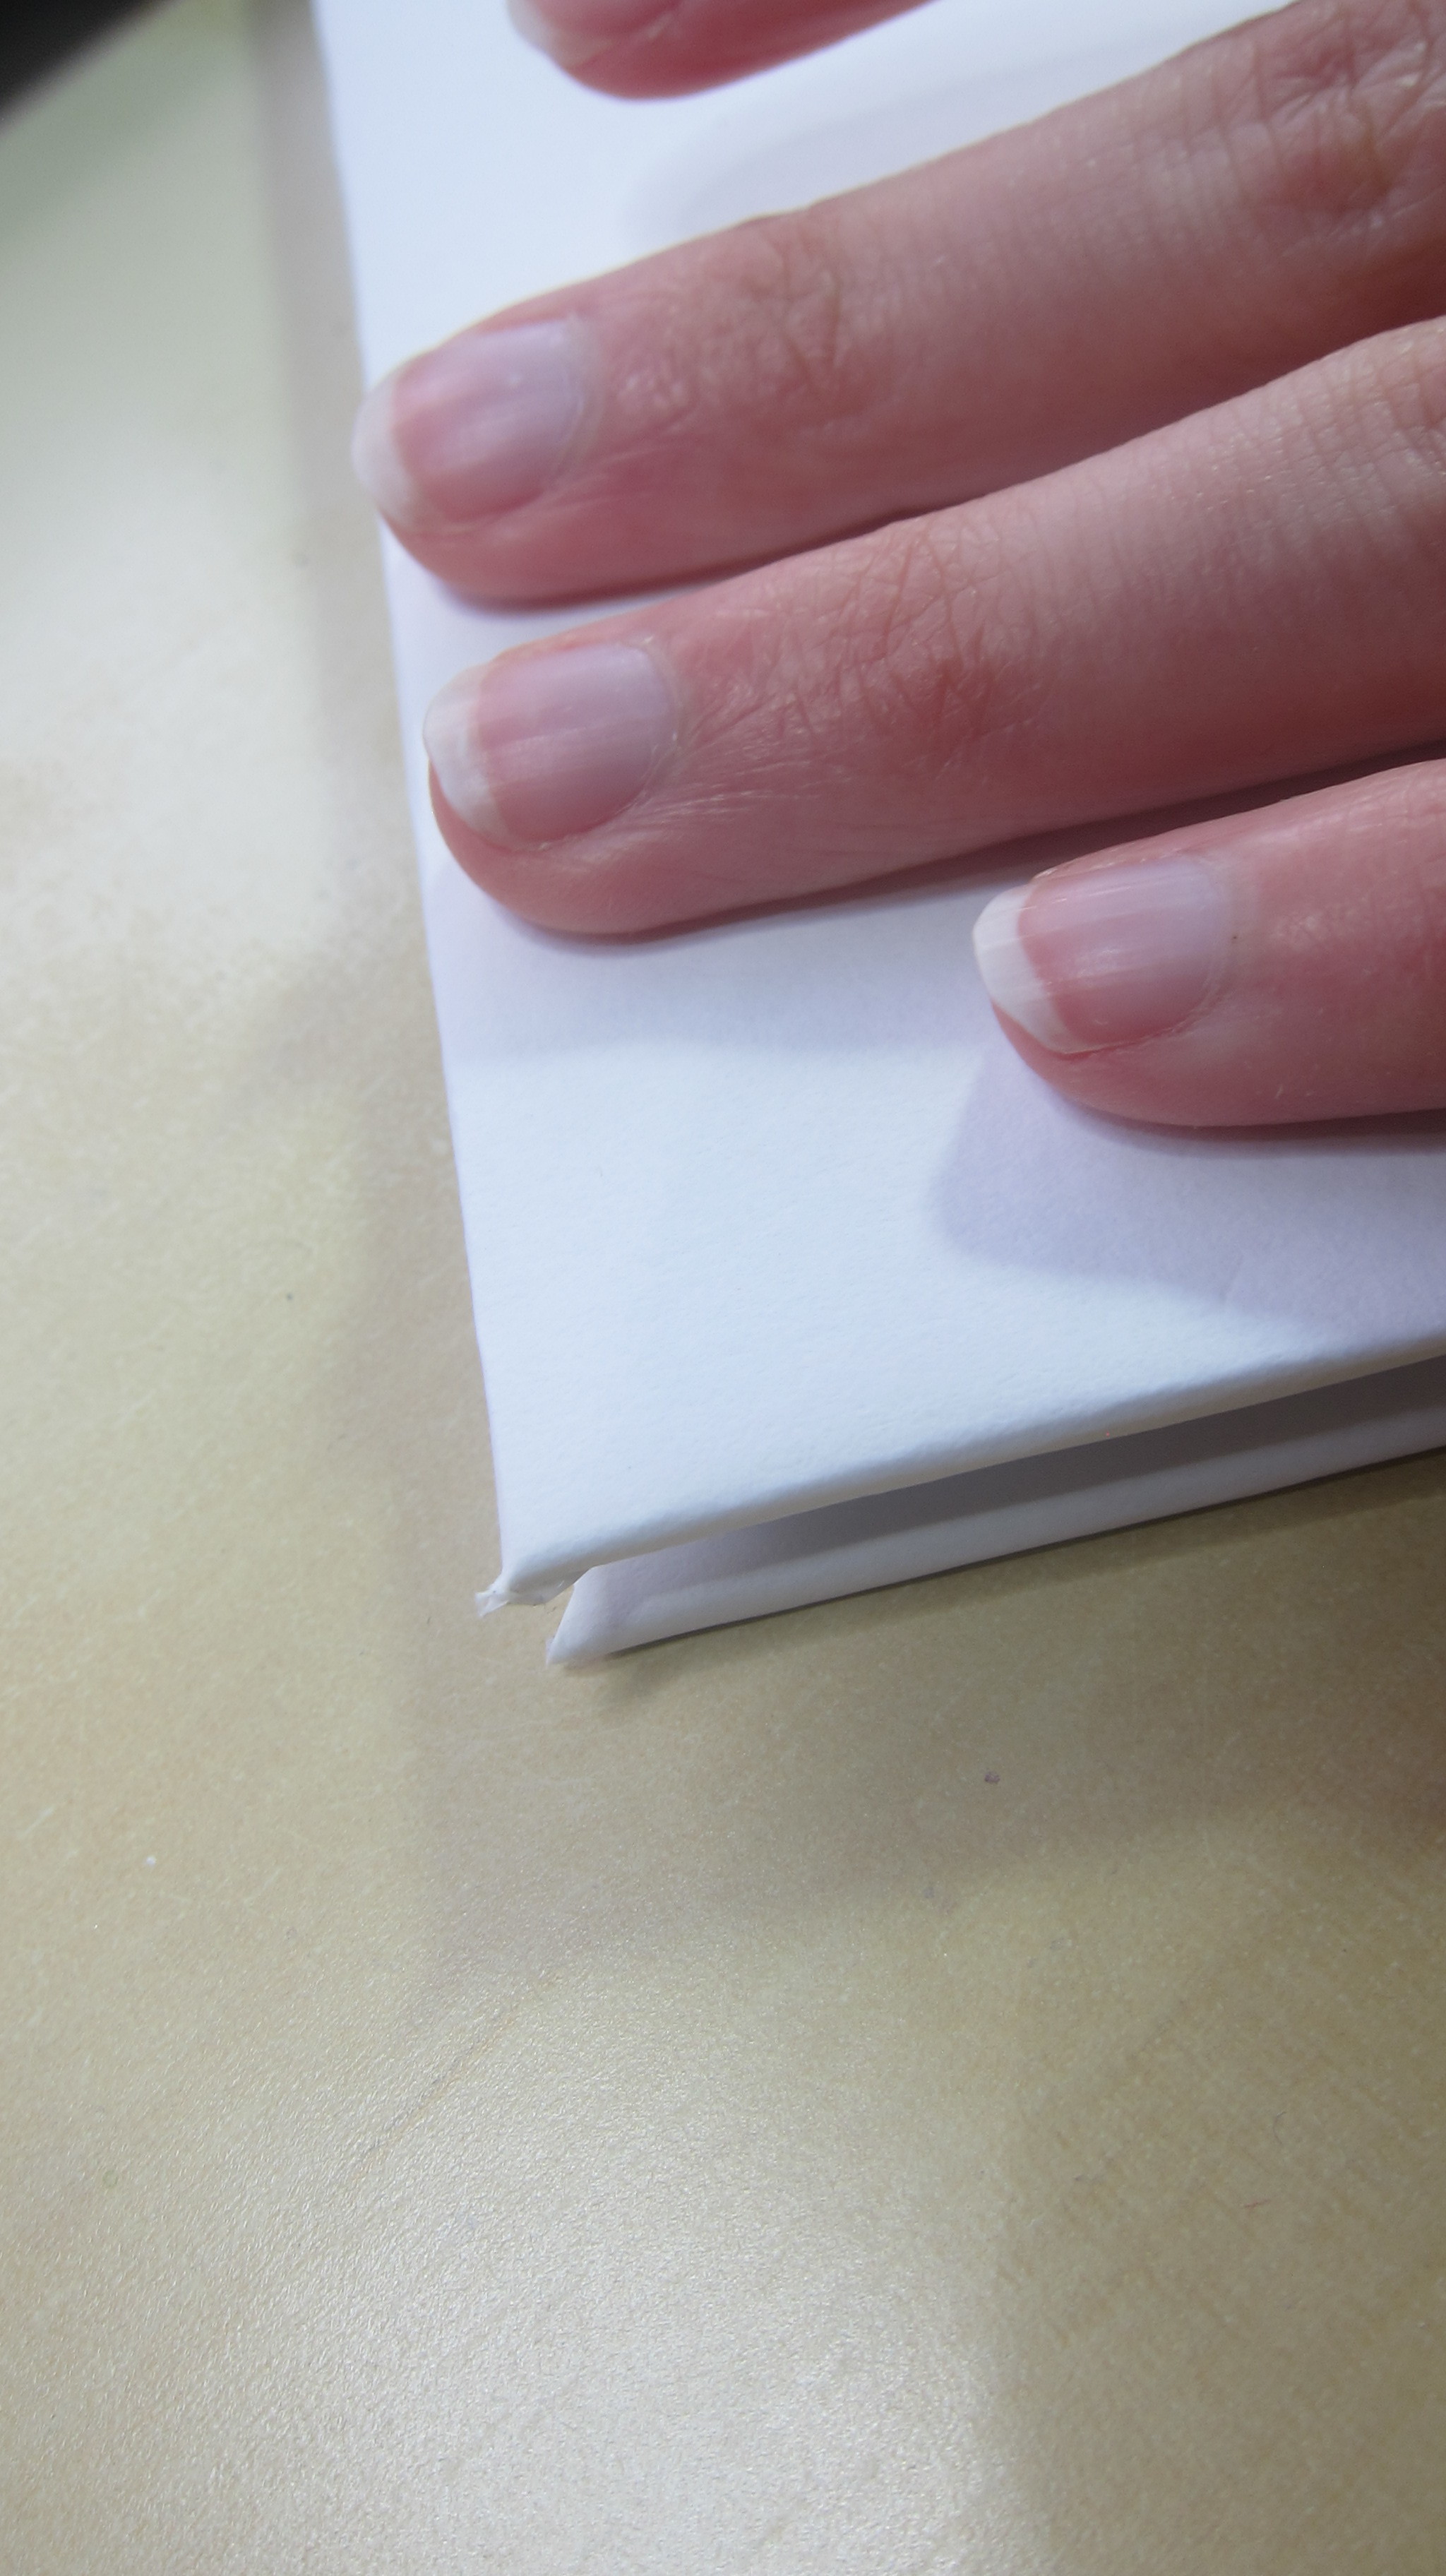
Next we want to encourage the channel in the spine of the book. Use your finger to do this. After you’ve done this strengthen the inside of the spine with more mull. Wait for this to dry, or if you’re impatient like me grab a hair dryer. After the spine if dry we can bend our book and encourage the shape of the spine by gently squeezing the main boards together. Please ensure your spine is dry before you do this as we don’t want the paper to rip!

Yay, now you’ve made your hard cover! We’re almost finished now!

Attaching the inside of the book to the hard cover

This can be a tricky (and sticky) step as we’re going to be working with a lot of PVA glue.

IMG_6797.JPG
IMG_6798.JPG

Grab a scrap piece of paper and put it between your endpaper and the rest of the book to stop any excess glue getting on the rest of your pages. Then spread PVA glue from the spine outwards, covering the whole page. The pages will begin to buckle – don’t worry this is normal, but you need to not panic and act quickly. Once you’ve PVA’d the whole page carefully stick it into the hard case, ensuring that the width of the book overhangs into the spine by 2mms (again so we get that nice overhang that book covers have).

IMG_6802.JPG

Press firmly to ensure the whole endpaper is stuck to the hard case. Now repeat this process with the opposite side of the book. When sticking the cover down ensure it lines up with it’s other side or else you’ll have a wonky book. I know it can be tempting to open your book now but please resist! Get those faithful coffee table books out again and leave for 2-3 hours to let your book dry.

IMG_6805.JPG

Adding a cover image

Your book is pretty much done, give yourself a pat on the back. I know how tricky and confusing it can be the first time.

Now here’s the easy (and optional) bit! To spice your book up and add a front cover simply trim your cover illustration and stick it on using spray mount. Now you’re done! Happy days, you have your own dummy book!

It’s not perfect and it’s certainly not beautiful but it serves it’s purpose. It’s nice to physically hold your own book in your hand, isn’t it? Don’t worry if you’ve made some mistakes, it’s a confusing process with lots of room for error but once you’ve done it a few times it gets easier and easier.

I really hope this tutorial helps someone out, and if you do bind your own book please share it with me on instagram @eriberart!

Best wishes and good luck!

Erin

www.erinmcclean.com

@eriberart


An Illustrator's Guide to Bologna Book Fair

October 13, 2018

(Written January 2018)

If you’re planning on going to Bologna Book Fair this year and you’re anything like me then you’ll have trawled the internet looking for every piece of information and advice about the fair that you can find. While I don’t know if I have anything new to share, and I’m by no means an expert, I thought I would shed light on my experience going to the Bologna Book Fair last year for the first time as a third year illustration student. I hope this will help any nervous illustrators out there in their preparation for the fair, and also help me in preparing to go this year.

Preparing a Portfolio

The first step in preparing for Bologna Book Fair (besides booking flights and accommodation!) is putting together a portfolio. Last year I brought an A3 portfolio from Prat with 22 sheets of my best work. My tutors at university recommended Prat Portfolios as they’re sturdy, long lasting and have a good reputation. I’ll be taking my A3 portfolio again as it was pretty pricey but if I could go back and repurchase I’d definitely choose A4. While at the fair you are on your feet all day and an A3 portfolio quickly begins to feel very heavy- and I noticed most people had A4 portfolios. This really depends on your work so go with what you think will display your work best but I would not recommend going any larger than A3. I also bought a carrying case from Cass Art and then promptly ditched it after day one in favour of a tote bag (for my portfolio) and back pack (for my dummy books and other necessities) as the carrying case was large, heavy and awkward.

I can go into more detail about how I prepared my actual portfolio in another post if people are interested, but for now I don’t want to make this blog post too long!

Arranging Meetings

Arranging meetings with publishers, art directors and agencies can be really scary- especially if you have no contacts and no clue where to start. Putting together a list of contacts isn’t fun, it involves a lot of time searching the internet for Linked In pages and guessing the emails of art directors for many of them to not email you back. I bought a (not so little) book called The Children’s Writers’ & Artists’ Yearbook which is a great book to have if you’re serious about being a children’s author or illustrator. It has many insightful essays and interviews as well as a discovery of publishers contact info. This is where I started.

IMG_6755.JPG

By checking which publishers were going to be at Bologna Book Fair, I made a list of those whose work I thought mine would fit with. Then I hunted through the big green book for any contact details for that company. Many art directors (understandably) won’t put their direct emails into these books any more however with a bit of snooping you can find their emails. There’s a few ways to do this:

  • Using the contact phone number in the Writers’ and Artists’ Yearbook you can ring the publisher, give a quick explanation of why you’re ringing, and ask for the email of the art director. If you use this method it’s definitely advisable to do a bit of research and find out the name of the art director first. If you’re lucky the person on the other end of the phone will give you their email.

  • Search the publisher’s website. Sometimes they will have a Staff page and if you’re lucky they’ll list contact emails. If you’re very lucky the art director’s email will be listed but don’t fret if not! There are other ways…

  • Take a gamble. If you can find the email of anyone else working at that company (which is usually quite easy using the above method) then you can take a guess at the art director’s email! Many companies follow the same formula for their work emails, for example firstname.lastname@company.co.uk. If you can find out the name of the art director then you can take a guess at their email. You’d be surprised how often this method works!

After you’ve put together a list of contacts you can begin emailing. I included a quick sentence about myself and my work, a sentence about the company I was emailing (so they know it wasn’t a mass email) and asked if we could arrange a meeting to look at my portfolio. Include a link to your website and maybe even attach a low-res JPEG of one of your favourite pieces to immediately catch their interest. Please understand that art directors are very busy people. Many aren’t at the fair to see illustrators and their schedules are very full so do not be disappointed if you don’t get a reply. There will be more chances to make meetings in person at the fair. Last year I arranged three appointments in advance, however at the fair I made eleven appointments.

What to Bring

You’ve perfected your portfolio, you’ve booked your flights and accommodation, and you’ve send hundreds of emails. The time has finally come. Now it’s time to pack your bags! Here is what I recommend bringing:

  • Very comfy shoes! This is so important- I was doing between 20’000 and 30’000 steps every day at the fair, and by the end of the week I was exhausted (although I did walk 45 minutes from my AirBNB to the fair each way every day!)

  • A back pack and a tote bag. As I mentioned before, I found having a tote bag for my portfolio (and with some tear sheets and business cards so they’re easy to hand!) and an additional back pack for my dummy books, water and lunch etc. was the easiest way to distribute the weight of what I was carrying around my body. I even saw some people with wheelie suitcases!

  • Water and a packed lunch. You’re in the fair all day, if you don’t bring water and a packed lunch you’ll end up spending a lot of precious fair time queuing for overpriced food. I stayed in an AirBNB which had a small kitchen which made is easy to prepare lunches.

  • Tear sheets and business cards! Tear sheets are A4 sheets of paper with your contact details and a few examples of your work on them (They’re basically giant business cards which you can print at home if you have a decent quality printer and paper). I’d say bring at least 50 business cards and maybe just as many tear sheets. You might not use them all- I brought 100 of each to be safe last year and that was definitely over shooting the target! But it’s better to be safe than sorry.

Arriving At the Fair

The Bologna Book Fair can be a bit overwhelming. It’s huge; there are so many different things to look at. It took two full days of exploring the fair to feel comfortable navigating my way around. My very first tip for your first day at Bologna Book Fair is to arrive early! This was my intention, however I got hopelessly lost walking around the Bologna Fiere district (the main entrance is not very well marked!) and ended up arriving 45 minutes after I planned. However I did manage to meet another lovely person, the director of a company who brought children’s books from the UK to China, who was lost too. By the time we found the fair entrance we had swapped business cards, it really is that easy to network in Bologna so don’t be shy!

IMG_5981.JPG
IMG_5933.JPG

The Illustrator’s Wall

I’m sure if you’ve read anything about Bologna Book Fair you will know about the Illustrator’s Wall. It’s exactly what it sounds like- a huge wall where illustrator’s can pin up their work and leave business cards in the hope that an art director might see it. By the time I arrived at 9.30am (with the fair opening at 9am) the Illustrator’s Wall was already brimming with work. It’s the first stop for most illustrators entering the fair. I made the mistake of bringing only A4 sheets; my work was drowning among A3 and bigger posters. If you want your work to stand out definitely bring something large and eye catching! Also bring your own adhesive as there aren’t pins provided. I brought double sided sellotape.

Arranging Meetings at the Fair

On your first day it’s great to get a feel for the fair, however you also have your best chance of making meetings with publishers this day. Most publishers will have a little stand with a receptionist. Don’t feel shy- go up and ask if the art director is seeing any illustrators. If they say no don’t fret, all the publishers will accept business cards and tear sheets even if they can’t see you. Some even have a dedicated ‘post box’ for illustrators to pop their business cards into.

Many publishers put a dedicated time aside for seeing illustrators (usually an hour or two). This involves queuing for any amount of time between half an hour and two hours to see a publisher so make sure you arrive early! I’d recommend arriving half an hour early. Queuing isn’t a waste of time; it’s a great time to take a breather, people-watch, sketch and network! There are so many other interesting illustrators around you. I found it was a great time to get to know other people and see their work. You don’t just have to have your portfolio reviewed by art directors. It’s great to have it reviewed by other illustrators too. Don’t forget to always ask for business cards!

Talks and Seminars

There is also a great selection of talks and seminars available for you to attend at Bologna Book Fair, I went to a few last year (including one which I didn’t realise until I got there that it was in Italian!) but would love to attend more this year. You can find an itinerary online so before you go make a list of the ones you’d like to see (I don’t think it’s been released yet for this year). Last year I attended some helpful seminars by the A.O.I on contracts and self-promotion. Just make sure the seminar is going to be in a language you can actually speak before you go!

After the Fair

I recommend you write up notes on all of the meetings you have, or even have a friend attend the meeting with you to make notes during it (I’d run this by the art director first but many won’t have a problem with it). This allows you to really reflect on the feedback you’ve been given. Make a spreadsheet of any new contacts you’ve made and wait 2-3 weeks after the fair before emailing them to say thank you for the meeting and sending them your website. Some might even have asked you to send PDFs of your work. Don’t email the first week after the fair as publishers are very busy tidying up after the fair and your email may get swept under the rug.

I also want to add- don’t be disappointed if no work seems to come from the fair. I had no work come from the fair last year however that doesn’t make the experience any less valuable. I got so much great feedback and I felt so refreshed and inspired after visiting the fair. In the 9 months since I visited the 2017 fair I feel like my work has improved vastly and I don’t think my work would be where it is now if I hadn’t have attended the fair. One of the things that struck me while visiting the fair last year is that I am so young. I was 21 and in my final year of university and felt like time was running out- however I didn’t meet anyone at the fair younger than me. Most people were impressed I’d come to the fair while I was still a student. It made me realise that there is so much time for me to work on my illustrations and that I don’t have to become a published illustrator straight out of university- very few people do!

IMG_5913.JPG

Bologna the City

Don’t forget to spend time actually enjoying the beautiful city of Bologna! Spend time in the evenings exploring, eating great food and going for drinks. The city will be brimming with illustrators, art directors and publishers. With so many interesting people around there’s a good chance the networking won’t end in the fair! The fair closes at 6pm, however don’t feel like you have to stay till this time every day. You don’t want to burn yourself out. I visited the fair from 9am – 3pm/4pm every day, giving me some time to go back to my AirBNB and re-energise before heading out for the evening. By the end of the week you will be exhausted so take time to look after yourself and have some fun. If you are able to you could even take the chance to explore more of Italy while you are there. My partner and I are visiting Venice first before traveling to Bologna this year (an hour and a half away by train).

Thoughts for Myself

While I had an amazing time last year there are a few things I’d like to keep in mind and do more this year:

  • Talk to even more people: I’m quite a shy person at first, this year I’d really like to make an effort to get out of my comfort zone and meet more people.

  • People-watching and sketching: I was so busy bustling about trying to squeeze everything in last year that I didn’t get much time to relax. Italy has an amazing café culture and I’d love to spend more time sitting out on the streets and drawing some of the beautiful people and scenery. I might possibly even make a travel journal.

  • Visit more International Publishers: Last year a lot of my focus was on British publishers as I feel like my style of working is very ‘traditionally British’. This year I’d love to explore the International Publishers more and possibly receive feedback from them as I’m sure it would be very interesting to see how children’s books differ across different countries and cultures.

This post is getting very long so I better stop. I think I’ve included everything I wanted to talk about and I hope you find this helpful if you’re attending the fair for the first time. If you’ve attended the fair before it would be great if you could share any more helpful tips in the comments!

Best wishes and good luck!

Erin

www.erinmcclean.com

@eriberart

A Kidlit Illustrator’s Blog

IMG_6753.JPG

Featured
Oct 13, 2018
Book Binding on a Budget: How to make your own Dummy Books
Oct 13, 2018
Oct 13, 2018
An Illustrator's Guide to Bologna Book Fair
Oct 13, 2018
An Illustrator's Guide to Bologna Book Fair
Oct 13, 2018
Oct 13, 2018